
If you’ve been following these blogs, you’ll see that in the last article, we hacked together a basic attack surface monitoring platform using projectdiscovery tools.
Using some of those basic building blocks, we’re going to build a basic historical DNS bot that will continuously enumerate domains and then alert us for the existence of new domains. We will also be able to request the results from a flask API.
I will be forking the old project as a starting point, so if you haven’t already read that article, go read it here - https://blog.projectdiscovery.io/asm-platform-using-projectdiscovery-tools/
The first thing we’ll do is clone the pdiscovery-bot as the skeleton for our project.
git clone https://github.com/pry0cc/pdiscovery-bot
mv pdiscovery-bot dnsx-bot
cd dnsx-bot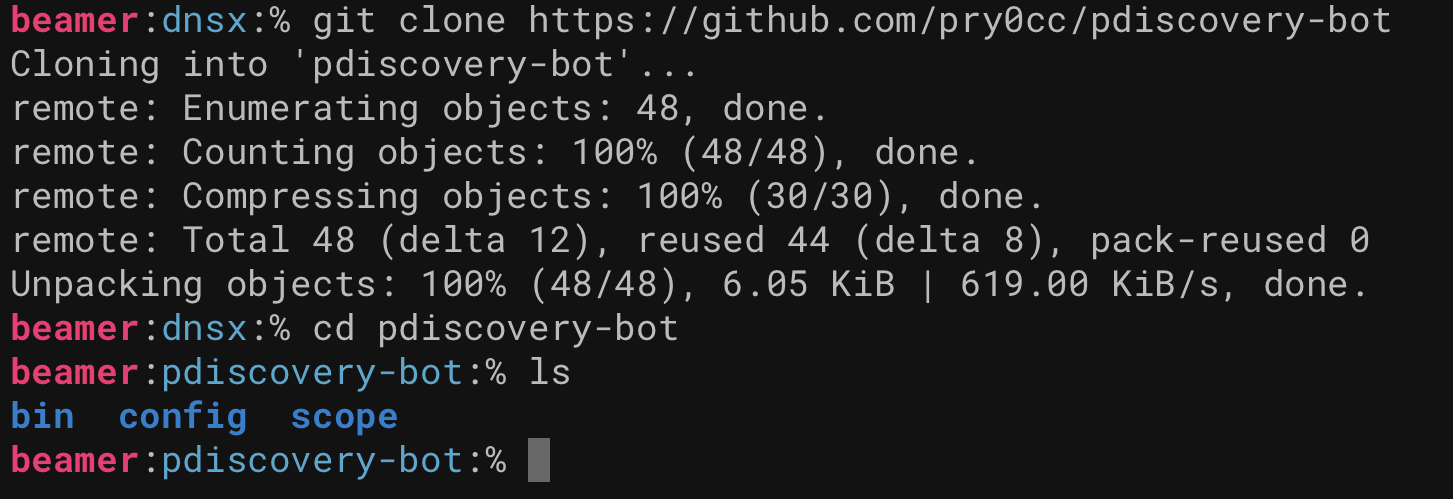
Now, since we want to make a DNS tracking bot, we need to edit the scanner script and remove the fluff we don’t want. Namely: nuclei, httpx, tlsx.
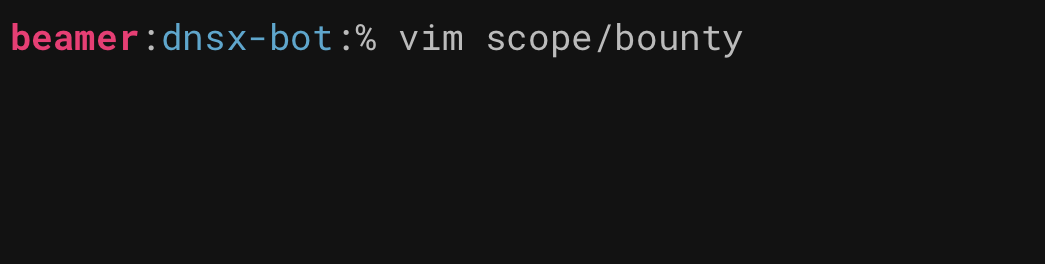
Edit the scanner script using vim or your editor of choice
vim bin/scanner.sh

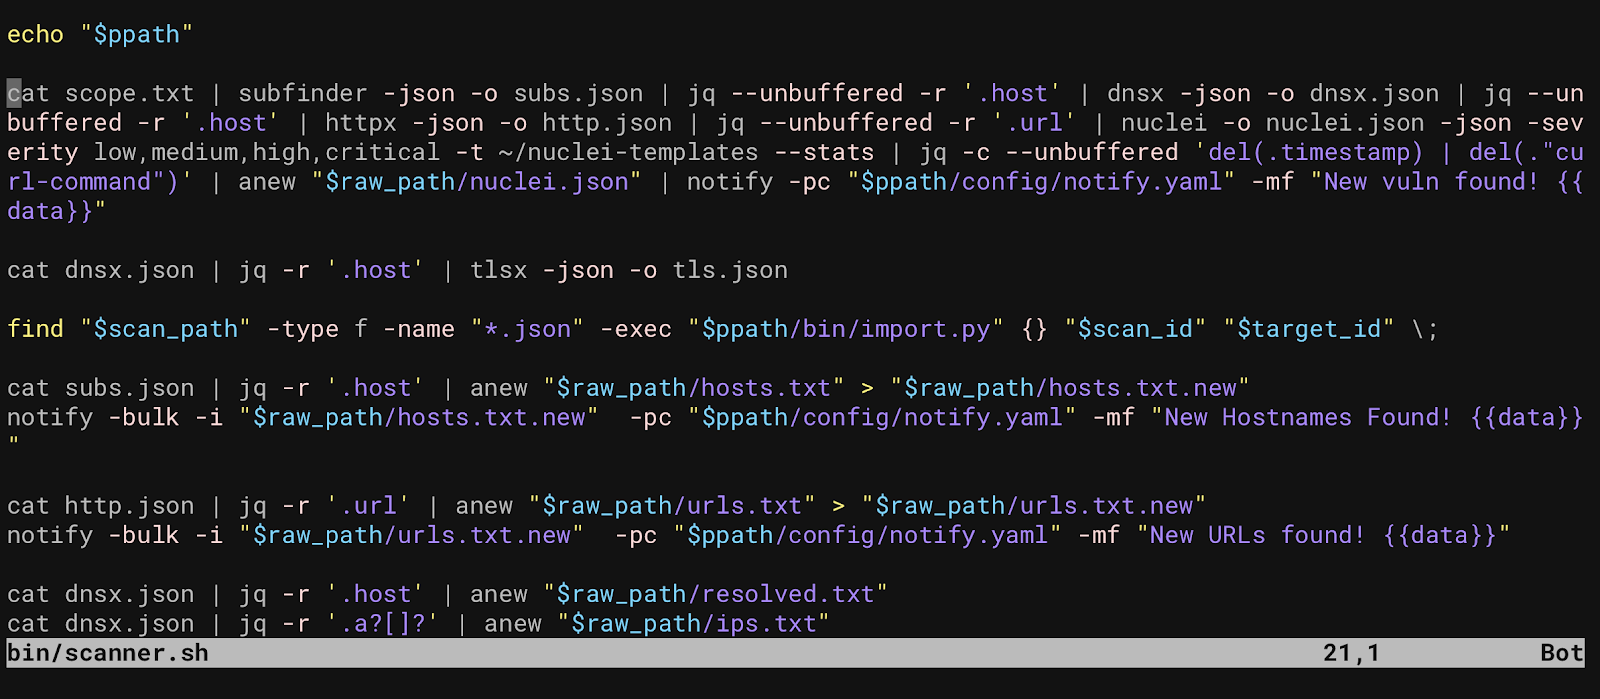
Line 21 contains most of the logic of the scanner part of the script. Let’s modify this and remove everything from dnsx onwards.
Next, lets remove the line that notifies of new URLs, as we’re removing httpx from this bot, this will now fail and is unneeded.
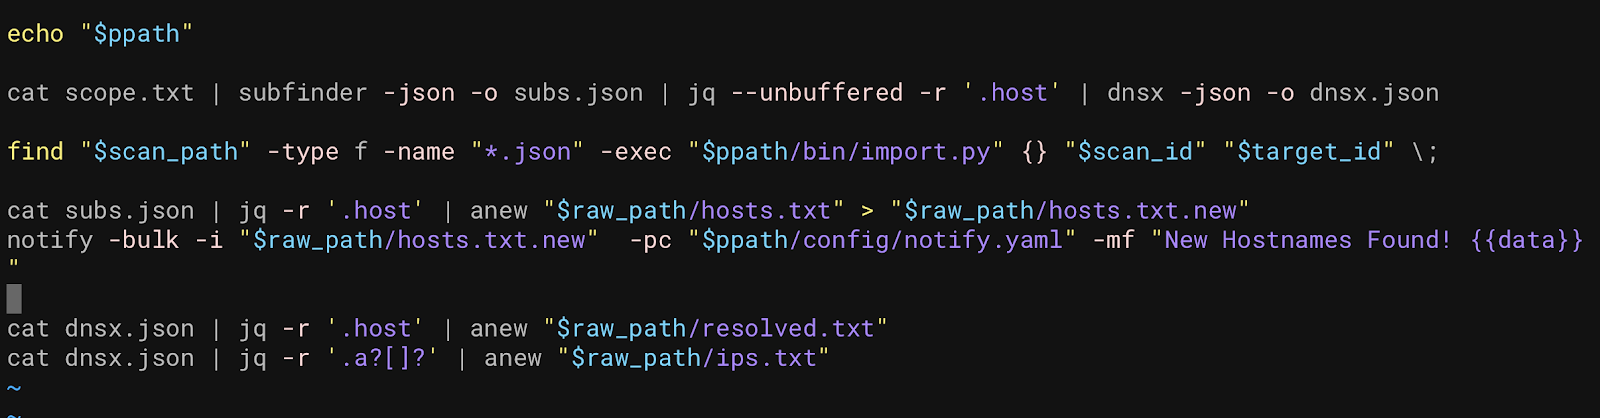
bin/scanner.sh should now look something like this:
Using the start_db.sh script, start the required databases (mongo & redis), then start the worker script.
bin/start_db.sh
bin/worker.py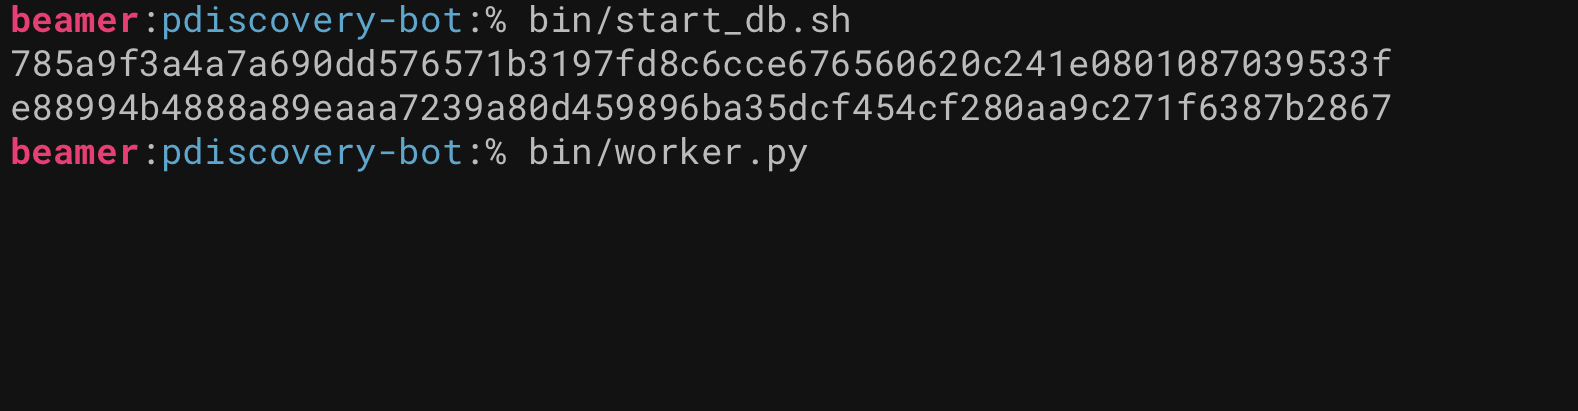
Edit a plain file in the scope/ directory without any extension, I am going to use vim to modify a new file called "bounty". The name of this file is relevant throughout this application and will be the target_id for this project.
In this file, I am going to add three root level domains with active bounty programs:
att.com
airbnb.com
spotify.com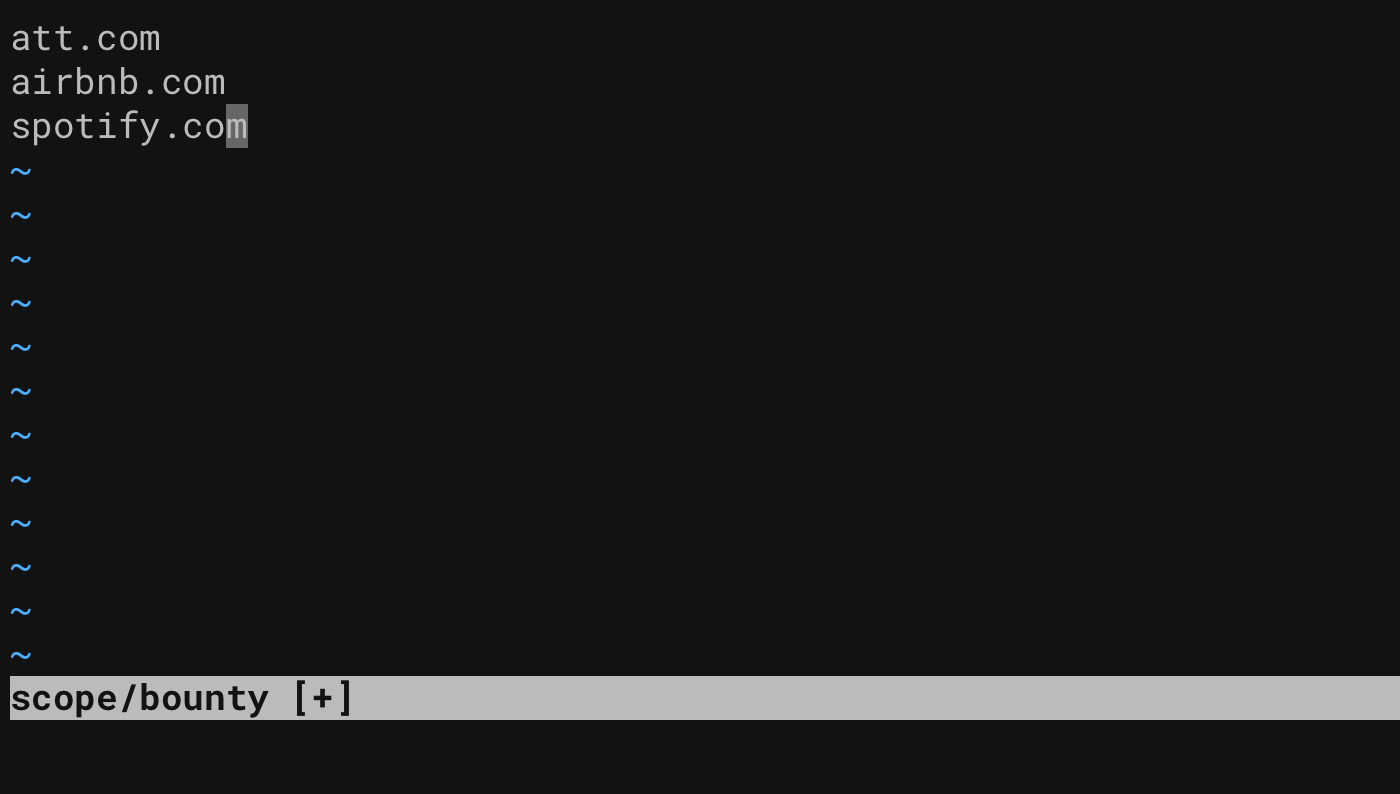
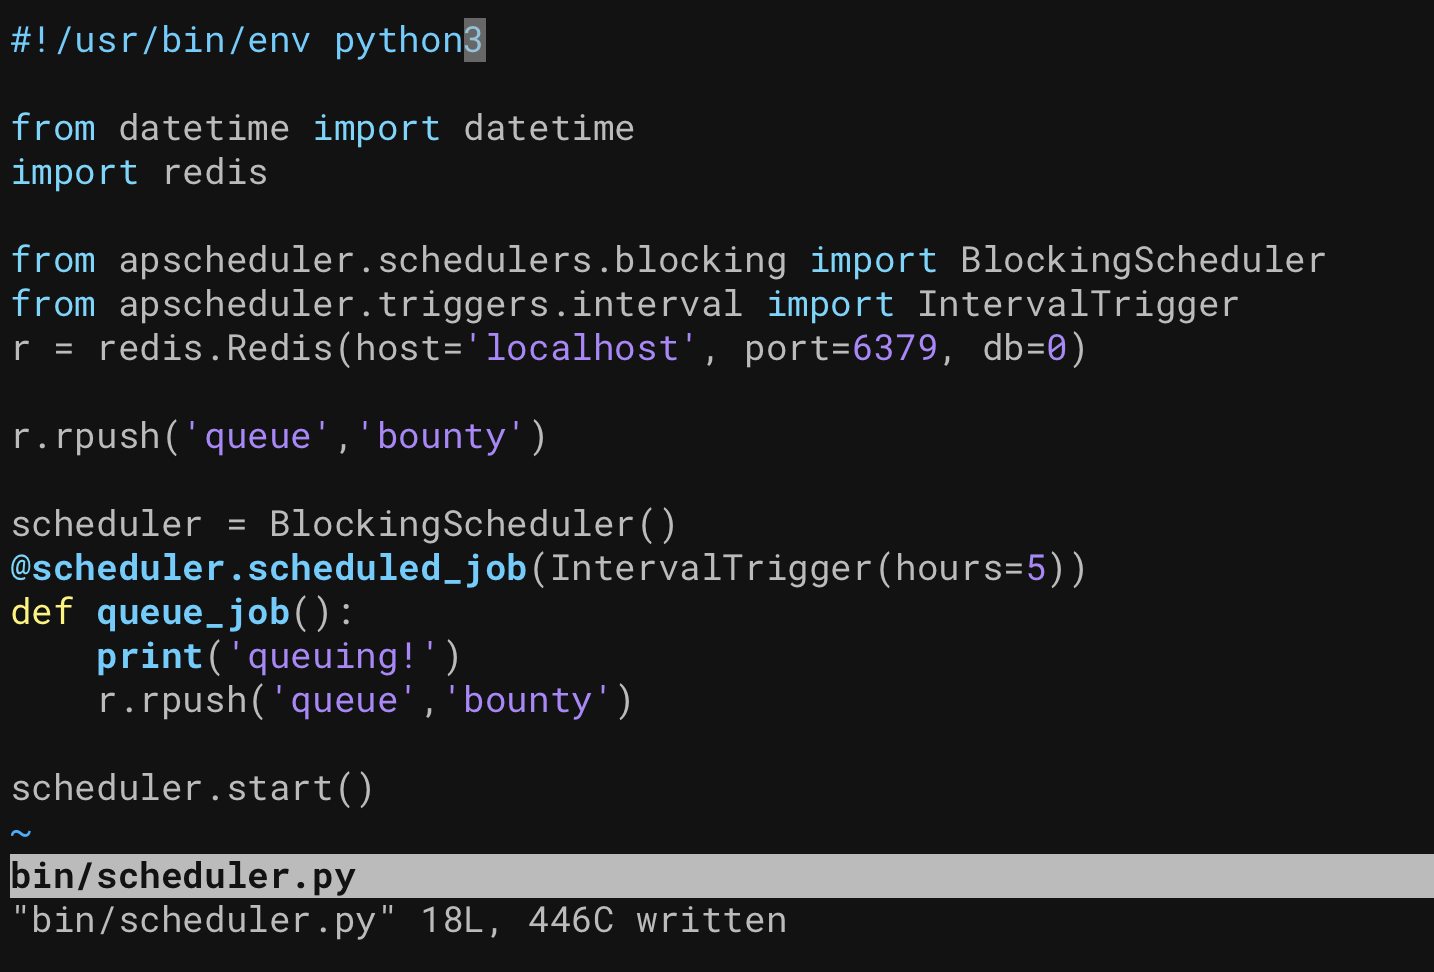
Modify the scheduler script to queue jobs for our target:
vim bin/scheduler.py
So that it is easier to test, I am going to add a short line to add the bounty job to the queue as soon as the script starts (otherwise, it would wait 5 hours until it submits it to the queue).
r.rpush(‘queue’, ‘bounty’)
Start the worker and the scheduler side by side, I am using two tmux panes to run this.
bin/worker.py
bin/scheduler.py
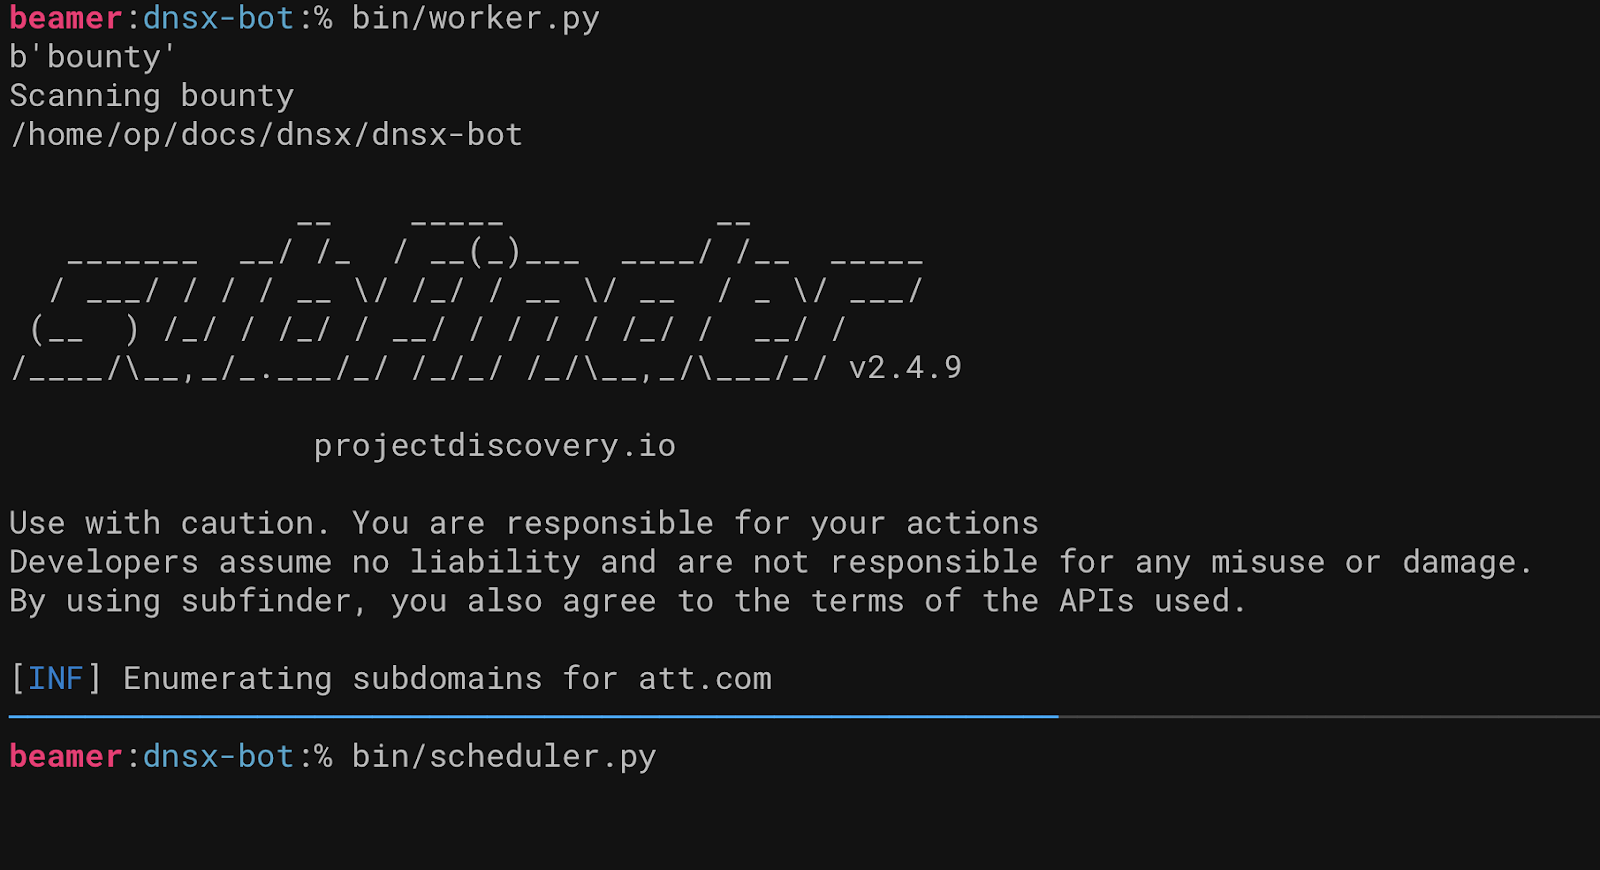
Once the scheduler starts up, it will add the target ID ‘bounty’ to the redis queue, the worker will pull the job from the queue and start a scan using the scope defined in scope/bounty.
When the scan is complete, notify will trigger notifications using the configuration file inside of config/notify.yaml!
Here is an example of the output from the bot after running for a few minutes:

The API
The pdiscovery-bot template project also comes with universal JSON import scripts and a Flask API for querying results. This should work out of the box.
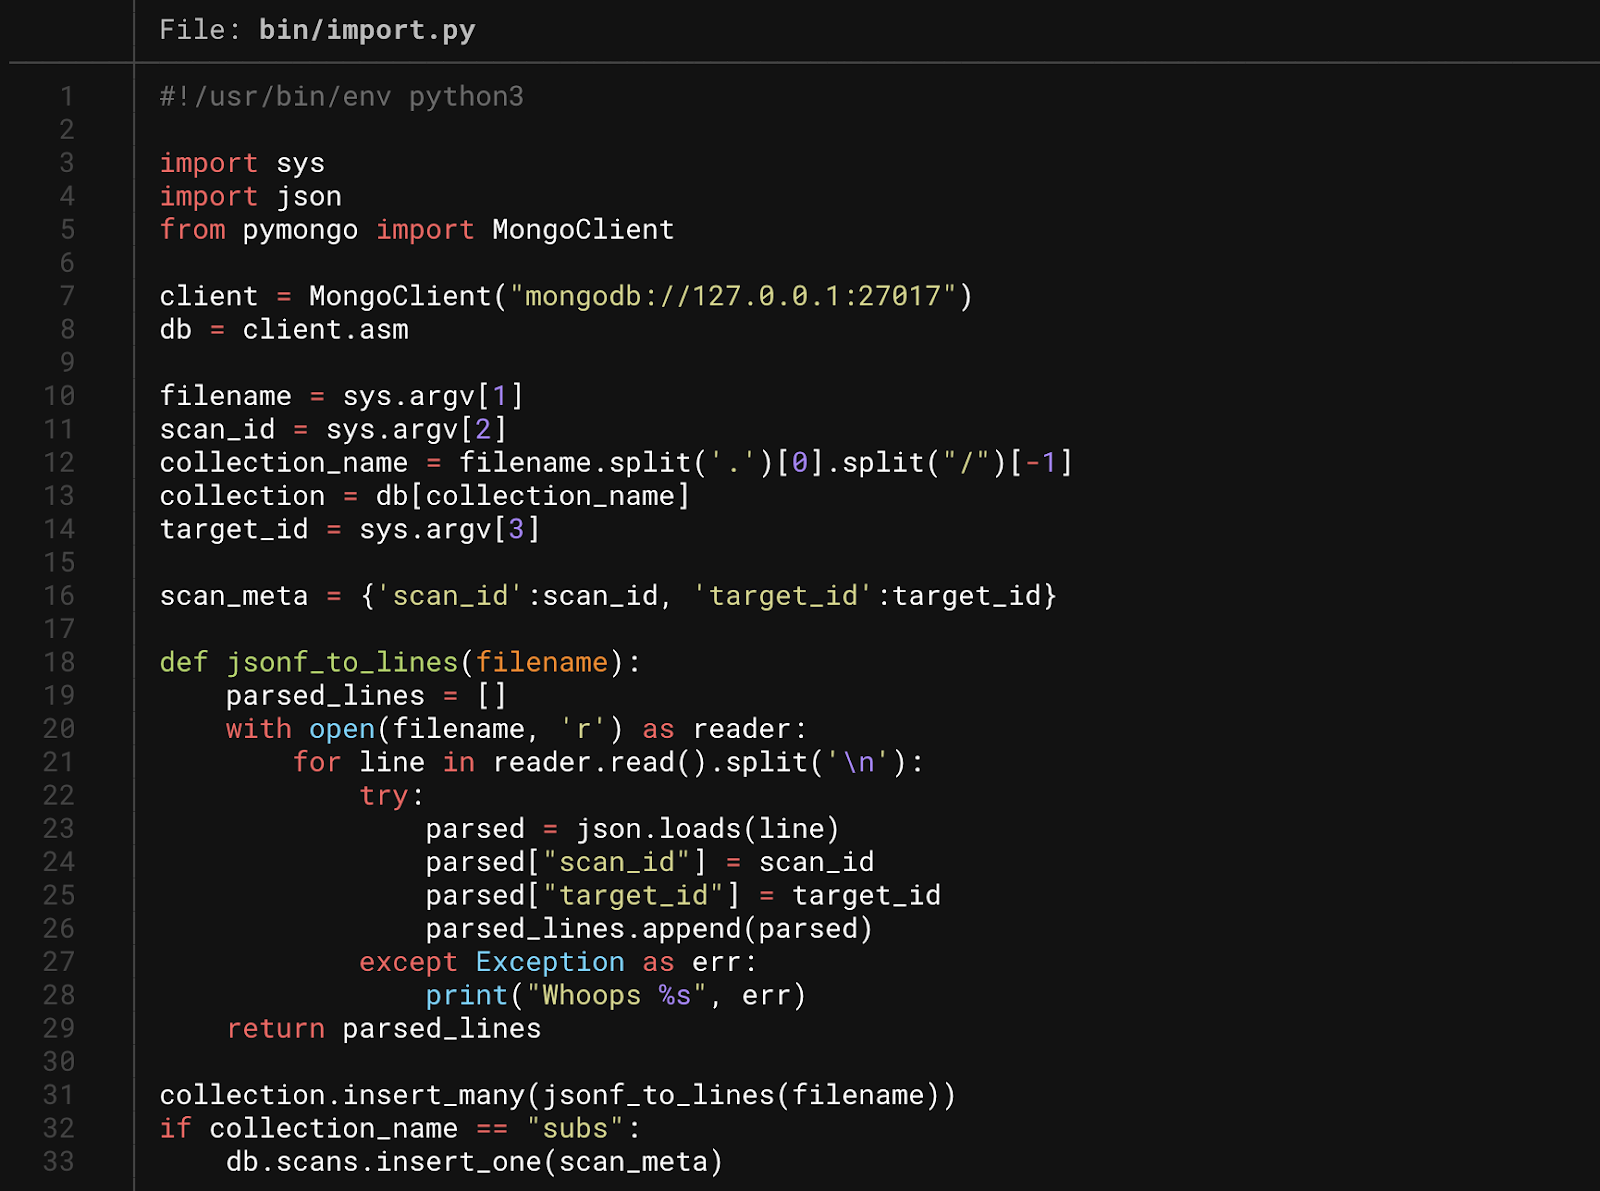
bin/scanner.sh contains a find oneliner that imports all files that end in JSON using the bin/import.py script.
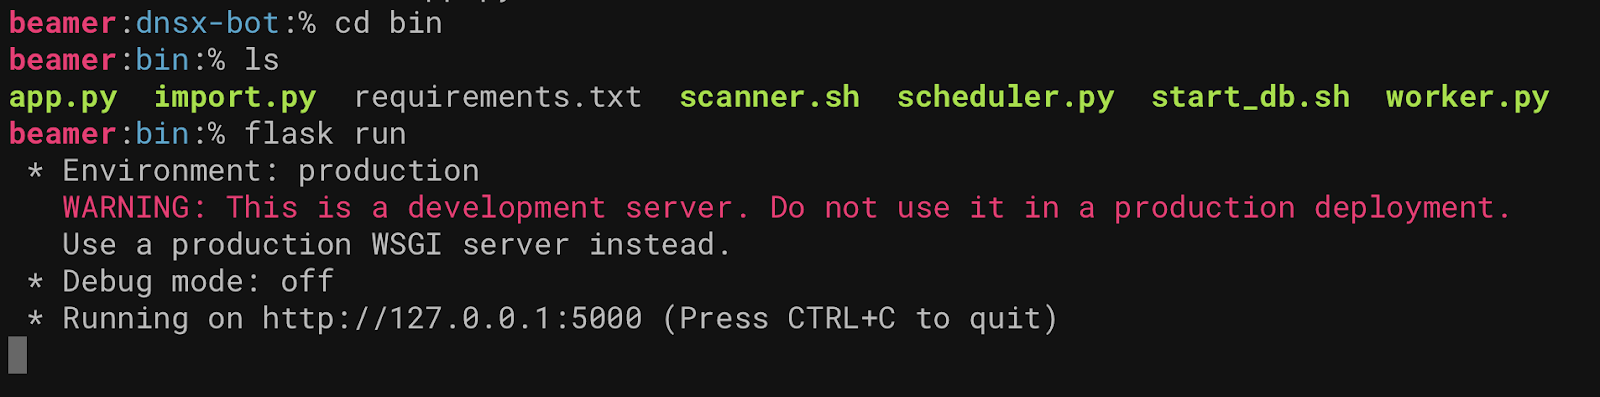
To begin working with the scan data we have collected, start the API:
cd bin
pip3 install -r requirements.txt
flask run
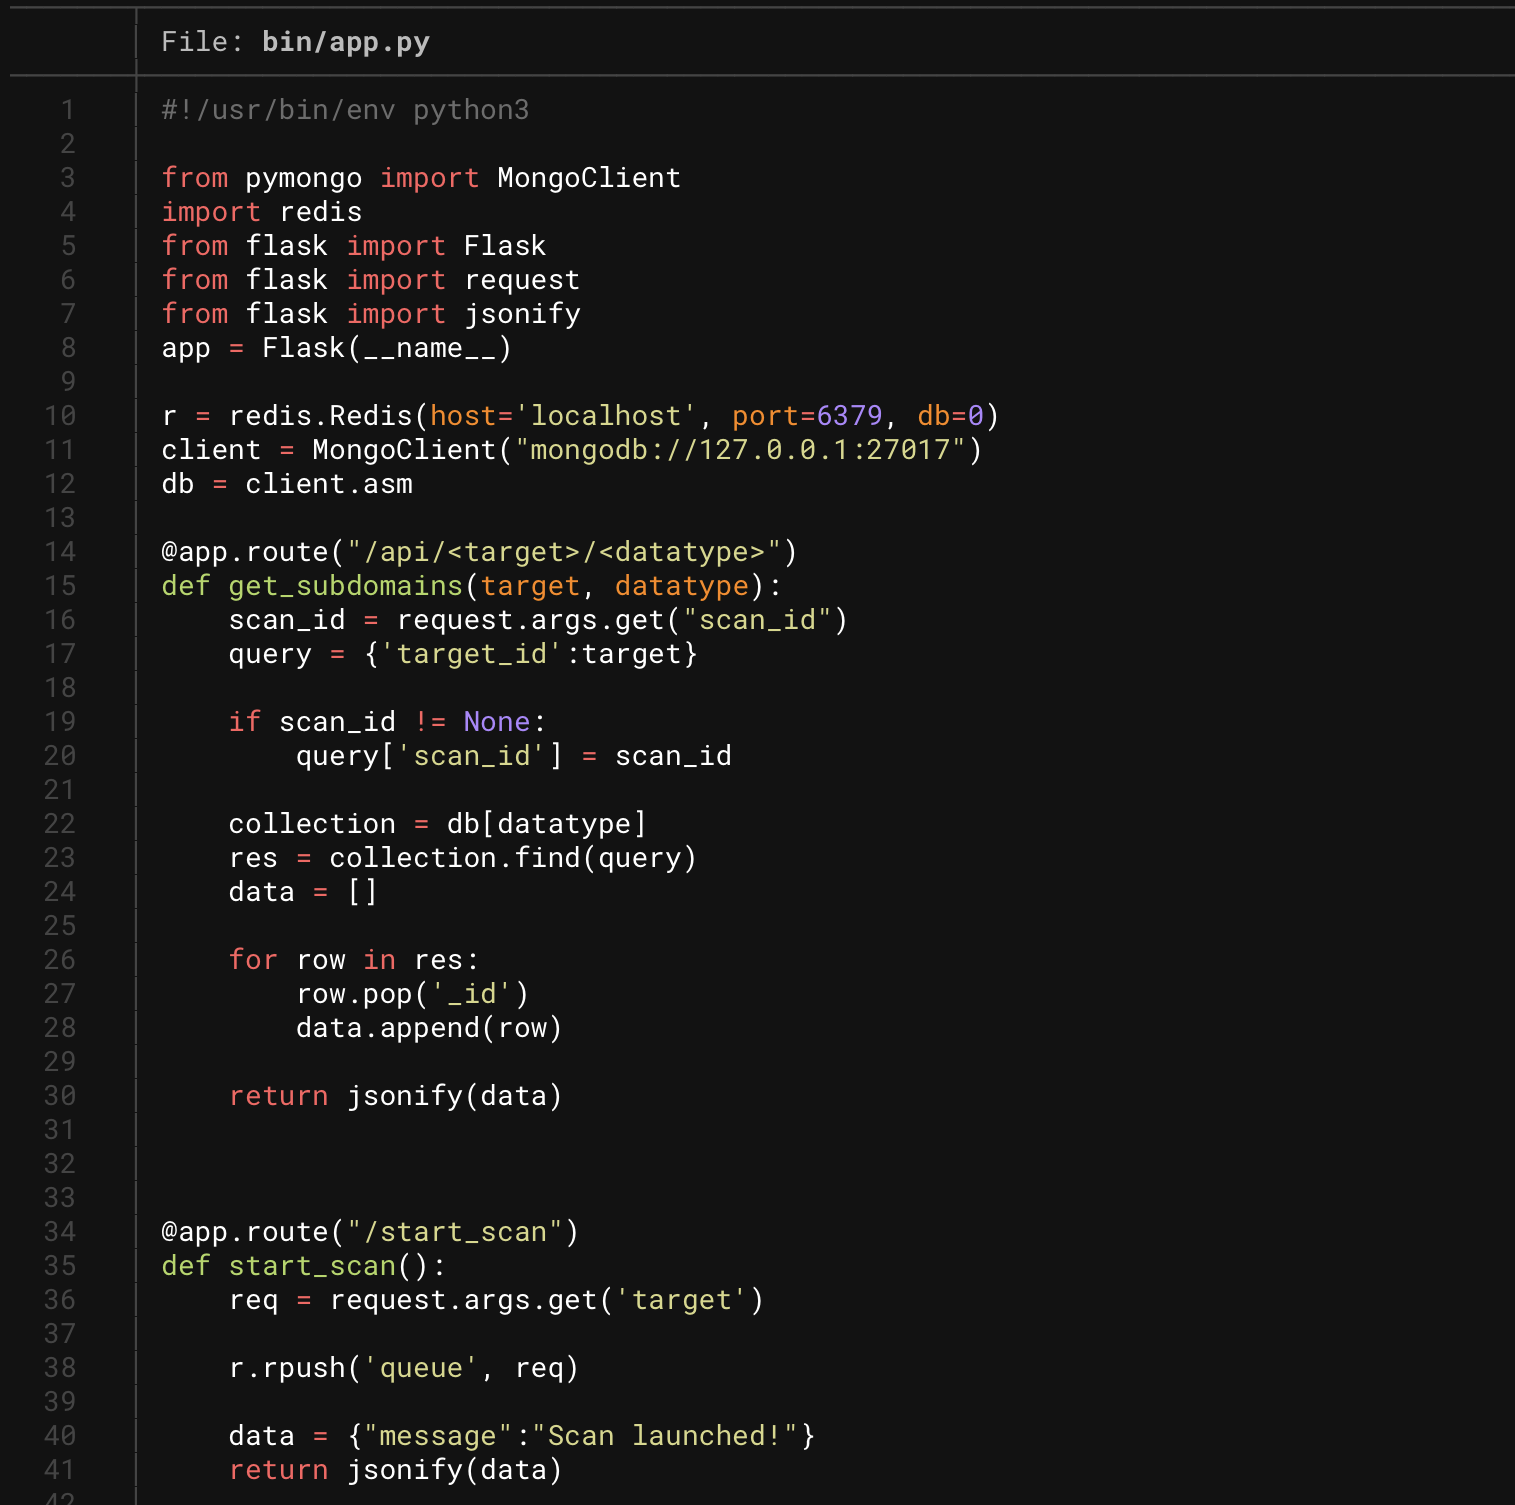
If we look inside the flask code in app.py, we can see a few different routes.
- /api/<target>/<datatype>
- This route allows us to query any data directly from the mongo database. This also includes a ‘scans’ collection.
- /start_scan?target=target_id
- This route allows us to start a scan on-demand
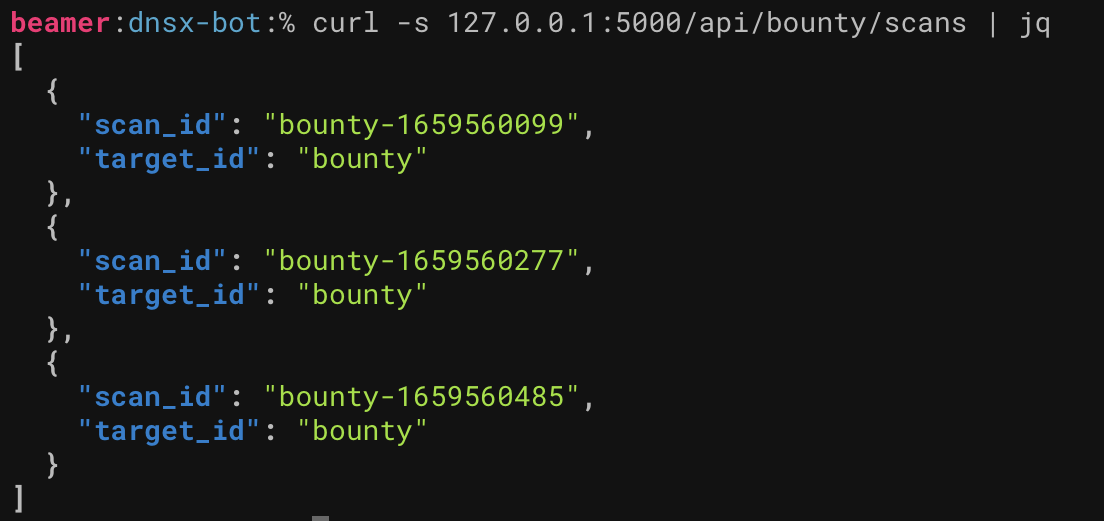
Let’s take a look at some of the scans that have been imported so far.
curl -s http://127.0.0.1:5000/api/bounty/scans | jq
Now, to query all dnsx tool output from all scans, just curl /api/bounty/dnsx.
curl -s http://127.0.0.1:5000/api/bounty/dnsx | jq -C

This request can take a little while if you have a lot of data or several scans. It is possible to limit the results to a single scan however.
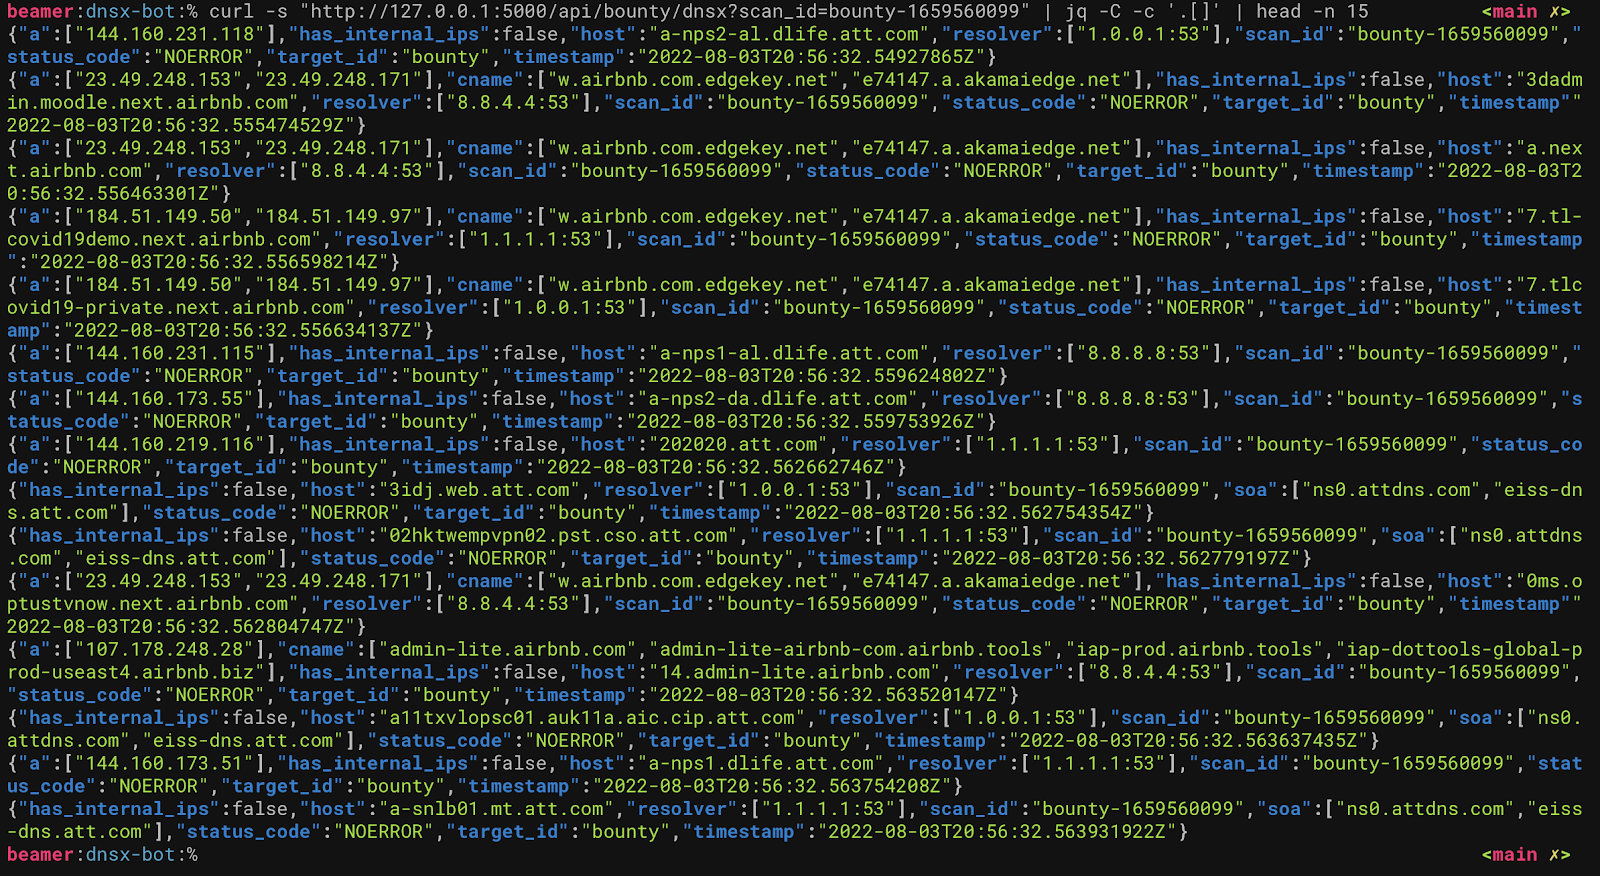
curl -s "http://127.0.0.1:5000/api/bounty/dnsx?scan_id=bounty-1659560099" | jq -C -c '.[]'
Historical lookups
From time to time, you may want to examine the DNS history of a single asset across time. Luckily, with JQ, we can parse the output easily and create an easy to read CSV with a handy one-liner.
curl -s "http://127.0.0.1:5000/api/bounty/dnsx" | jq -C -c '.[] | select(.host=="5gcentral.att.com")'

curl -s "http://127.0.0.1:5000/api/bounty/dnsx" | jq -C -c '.[] | select(.host=="5gcentral.att.com") | [.a[],.host,.scan_id,.target_id,.timestamp] | @csv' -r
curl -s "http://127.0.0.1:5000/api/bounty/dnsx" | jq -C -c '.[] | select(.host=="5gcentral.att.com") | [.a[],.host,.scan_id,.target_id,.timestamp] | @csv' -r  | csvtomd

Conclusion
In a few minutes, we have been able to modify the pdiscovery-bot to build an efficient and simple to modify DNS tracking system using all Project Discovery tools. With more time, this project could be modified to run at scale using axiom, or the DNS enumeration could be enhanced by adding DNS bruteforcing using shuffledns or puredns.
All code for this project is available in the dnsx-bot branch at pdiscovery-bot. To access this branch:
git clone https://github.com/pry0cc/pdiscovery-bot
cd pdiscovery-bot
git checkout dnsx-bot
- Ben Bidmead, @pry0cc

