PD Tools are becoming increasingly popular within cybersecurity, but you already know that. That’s why you’re here! You’ve heard about Nuclei or Subfinder or Katana and want to know how to get them up and running. Perhaps you’ve started the process but got stuck on an error like zsh:command not found:nuclei or Usage: httpx [OPTIONS] URL. To help with people looking to start using ProjectDiscovery tools in their attack surface management, we’ve got a few videos available. There is a getting started video available here with a part 2 here, but some people prefer to read (or Ctrl+f a blog to find what they’re looking for 😀). Either way, just for you, we’ve got this brand new blog all about getting started with ProjectDiscovery on Linux AND Windows.
Linux
We’ll be using Kali Linux for this, but the process shouldn’t deviate too much for other distributions. All work can be done in the command line, and some parts may require sudo. The first step is getting Go on your machine!
Install Go from a browser
Go can be downloaded at https://go.dev/doc/install. There are instructions there for Linux, including a button to download it. This is the easiest way to do install. Once installed, run go version in your terminal to check that it is version 1.20 or higher.
Install Go with the CLI
Run the command sudo apt install golang in your terminal. After it finishes, you can check it installed correctly by typing go version and hitting enter. ProjectDiscovery tools require at least 1.20 for most tools, so check that the version is correct. Once Go is downloaded on your system, we need to make sure your $PATH is correct.
What is my $PATH?
PATH is an environment variable on UNIX systems that is used to say which directories contain executable programs. The variable is set within the config file for your particular shell. We will include zsh and bash examples for this blog. Once the variable is set, and a program command is written and run in the terminal, the PATH variable is searched from left to right for the given command in the directories. This means the earlier a directory appears in the variable, the earlier it’s found and executed.
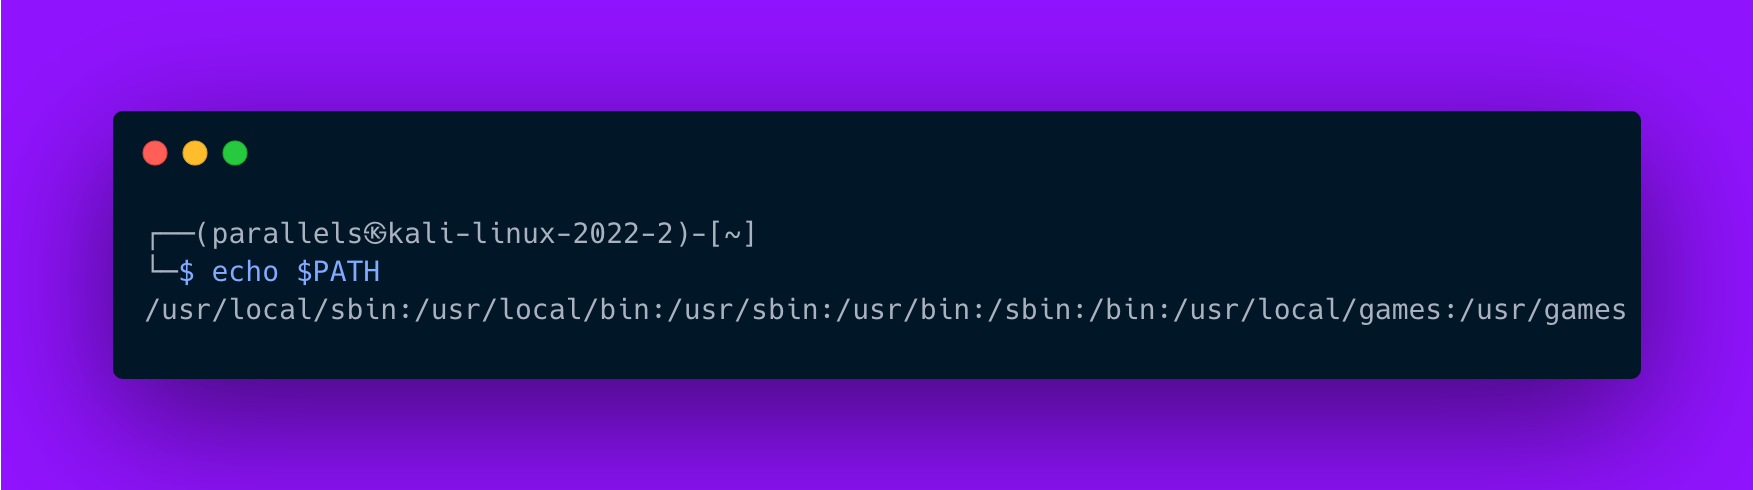
To see your PATH, type echo $PATH into your terminal, and the terminal will show you the order of directories in the variable.
Now, in order for your machine to be able to execute ProjectDiscovery tools, the folder where they reside needs to be in the PATH. ProjectDiscovery binaries are stored in the go/bin directory which is usually in the home directory. This folder is not automatically added to your PATH in most cases. So we need to do it manually.
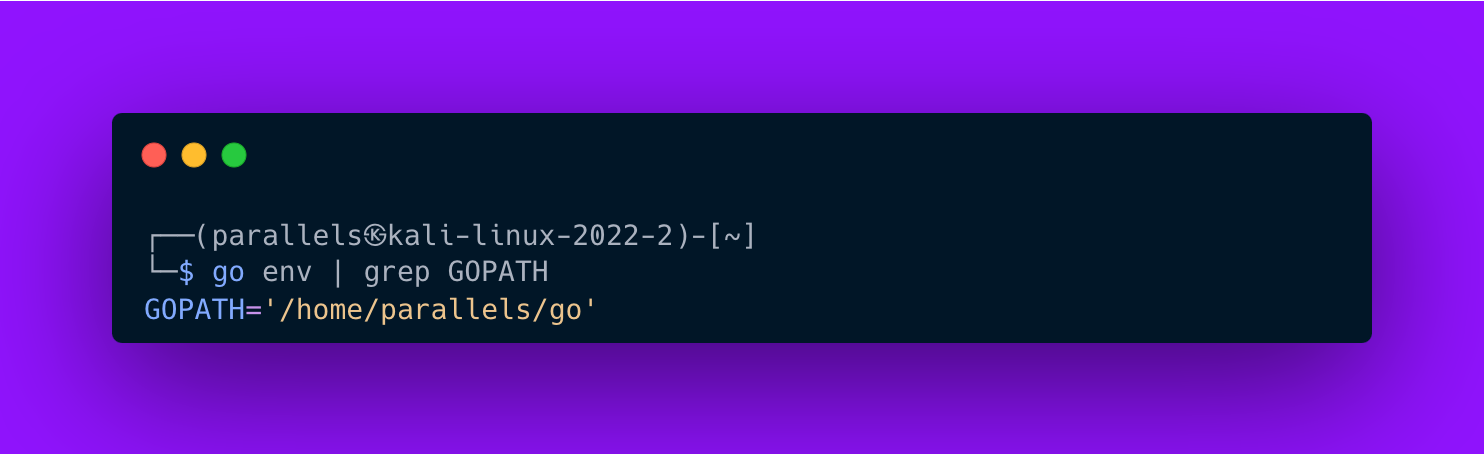
First, check your GOPATH so you know the exact location you’ll be adding to the PATH. Run go env | grep GOPATH and copy that path.
Next, open the shell config file for your shell in the editor of your choice (we’re using nano). This is nano ~/.zshrc for zsh or nano ~/.bashrc for bash.
At the bottom of the file, add export PATH="$PATH:insert/go/path/here" , changing out insert/go/path/here with the correct GOPATH you found earlier. NOTE: sometimes you may need to add "/bin" to the end of this path to be explicit.
Finally, run source ~/.zshrc or source ~/.bashrc to reset your terminal and reload it with the new config information added. You can also just close your terminal and open it again for this to take effect.
Your PATH is now updated. Type $PATH to check that the go binary directory is added to the end. Now that that is done, we can download PDTM!
PDTM? What’s that?
PDTM is one of our many amazing tools the ProjectDiscovery Tool Manager. It’s an easy way to download and keep your ProjectDiscovery tools organized and easy to access, update, and more. It’s the way we recommend downloading our tools rather than downloading the binary for each tool separately. For today, we’ll be downloading PDTM and using it to download the rest of the tools.
To download PDTM, run the following command in your terminal:
go install -v github.com/projectdiscovery/pdtm/cmd/pdtm@latest
After install, the first time you run PDTM, it will update your PATH. However, you may notice some instructions the first time you run PDTM. One line says you should run source ~/.zhsrc in order to ensure your current terminal session has the commands ready. You can also accomplish this by closing your terminal and then opening it again.
PDTM has a few useful flags, but we’re just going to use it to install the other tools first.
pdtm -ia installs all the tools. When you run you’ll see the text confirming the tools being downloaded and installed. Running just pdtm will show you what needs to be updated and pdtm -ua will update all the tools. Congratulations! You are now the proud owner of 20+ amazing ProjectDiscovery tools!
Wait! I tried to use httpx and it won’t work!
Ahh yes. There’s a Python library out there also called httpx. Unless you are using that for your projects, we recommend going ahead and getting rid of it. Let’s talk about how to remove it as well as a method that allows you to keep both if you need them.
Remove Python HTTPx
Run where httpx and find the directory where the Python library is located. Then, use sudo rm path/to/httpx and it will no longer cause an issue! Run where httpx to see that the directory is now different, since it’s the ProjectDiscovery httpx now.
Keep both versions
In order to do this you’ll have to rename the Python httpx. Run where httpx to find the directory where it’s located. Then, use sudo mv /path/to/httpx /path/to/py-httpxreplacing the paths with the path you just found, but keeping the final py-httpx of the command to rename it. Now, when you want to use ProjectDiscovery’s httpx, you’ll use the command httpx with whatever flags and target you want. To use the Python one, you’ll use the command py-httpx with whatever other input is required.
Windows
We’ll be working in Windows 11 for this, but these instructions should get you whee you need to go regardless of version. However, Go v1.20 is required for ProjectDiscovery tools, and there may be older versions of windows that don't work with newer versions of Go. As this is a getting started guide, we’ll be giving the basics.
Windows users should head to https://go.dev/doc/install to download the most recent version of Go for Windows. Follow installation instructions on screen after running the download package.
In the search bar, type “cmd” to bring up the command prompt. In the command prompt run go version to check that Go downloaded correctly. You should see version 1.20 or higher, likely 1.21. Next, you’ll install PDTM.
PDTM? What’s that? (but for Windows this time)
PDTM is the ProjectDiscovery Tool Manager. It’s an easy way to download and keep your ProjectDiscovery tools organized and easy to access, update, and more. It’s the way we recommend downloading our tools rather than downloading the binary for each tool separately. For today, we’ll be downloading PDTM and using it to download the rest of the tools.
To download PDTM, run the following command in your terminal:
go install -v github.com/projectdiscovery/pdtm/cmd/pdtm@latest
Once it’s finished installing, run pdtm from the terminal. You should see the following.
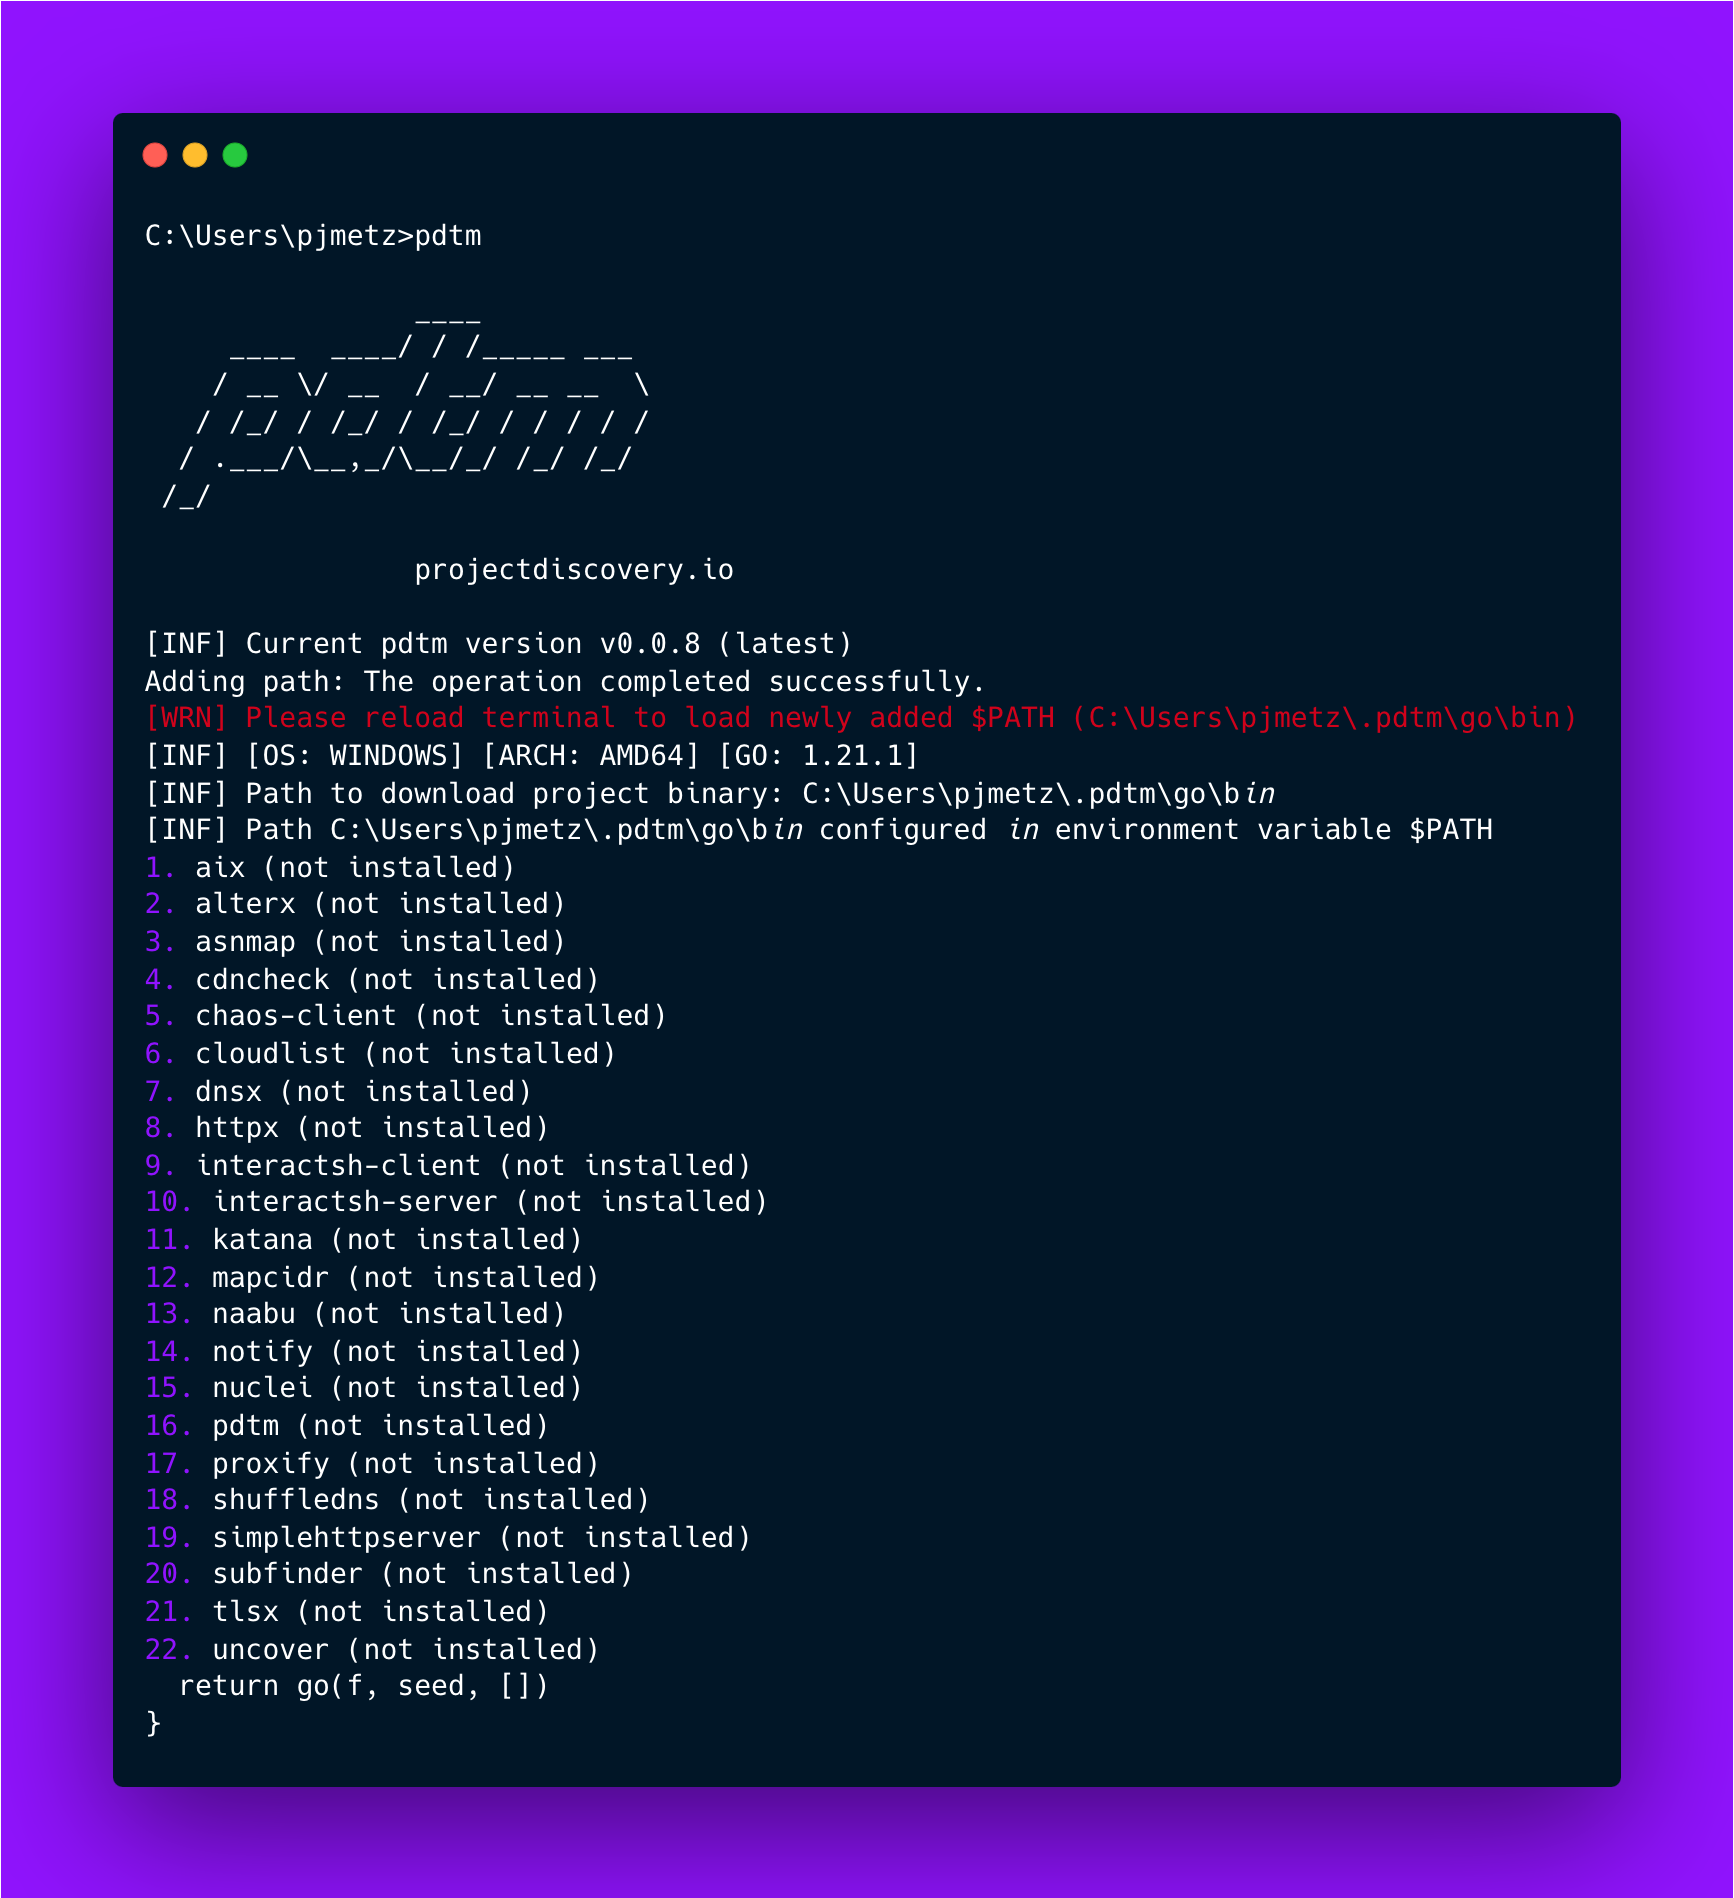
After installation, you may need to restart the terminal by exiting out and starting it again.
If you receive an error, navigate to the bin folder of the directory where Go is installed to make sure PDTM is there. If you see pdtm.exe in the folder, then it has been installed. Run pdtm from this directory to force it to see the executable. From then on PDTM should run no problem. Use pdtm -ia to install all the tools. Once they are installed, you can run the tools from the command line!
Conclusion
In this article we laid out the best way to get started with ProjectDiscovery tools on both Linux and Windows. We have several video versions of these instructions and more enablement content on YouTube, such as:
We are constantly adding enablement content for users of all levels; beginners to advanced hackers can benefit from being part of our Discord, subscribing to our newsletter, subscribing to our YouTube channel, and following us on Twitter.
Thank you for reading, and happy hacking!