As the world becomes increasingly connected, more and more devices are being exposed to the internet. This includes everything from industrial control systems to home routers and even refrigerators. Unfortunately, many of these devices are not properly secured, leaving them open to attack. This is where internet-based search engines like Shodan, Censys, and others come in. These tools allow security researchers to find hosts and vulnerabilities on the internet by searching for specific patterns in the data they collect.
This blog post discusses one such tool, Uncover by Project Discovery, a command-line interface (CLI) tool that simplifies using these search engines to find exposed internet-connected devices and vulnerabilities.
Uncover - Discover Exposed Hosts & Vulnerable Instances
Uncover is a go wrapper that uses APIs of well known search engines to quickly discover exposed hosts on the internet. It is a CLI based tool that uses search engines like Shodan, Censys, ZoomEye and others. The idea behind creating this wrapper is to use it within the automation pipeline and make your life easier and results more efficient.
It also includes features such as the ability to save and reuse queries, output results in various formats, and even integrate with automation pipelines.
Let’s discuss various features of Uncover in more details:
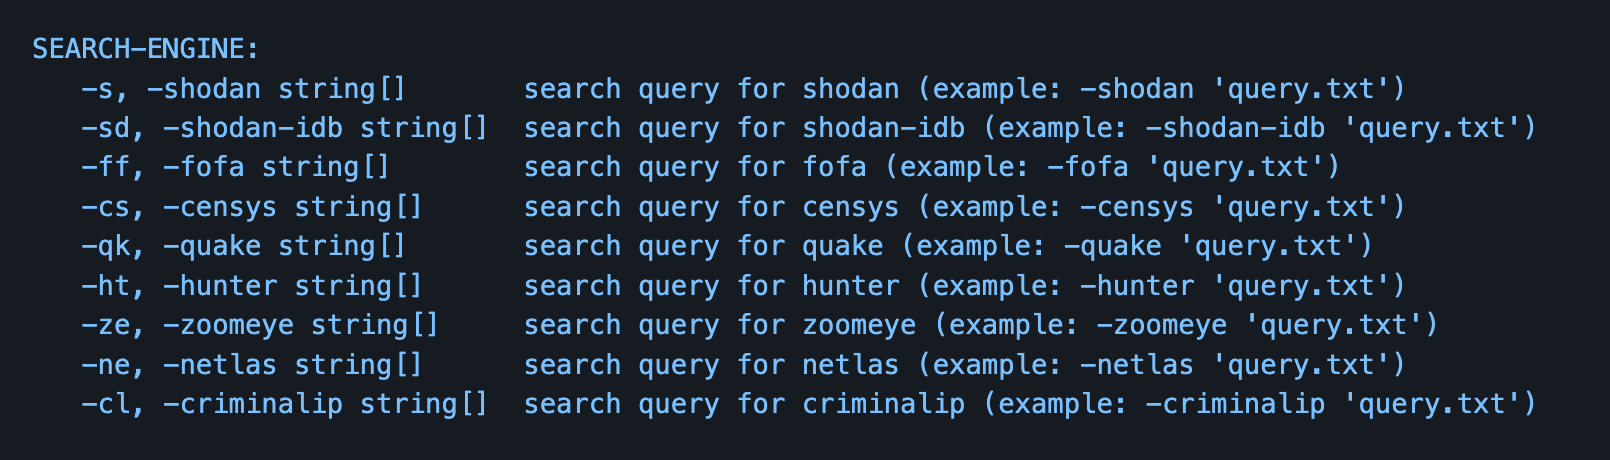
- Multi-engine search: With Uncover, users can search multiple search engines at once, including Shodan, Censys, FOFA, Hunter, ZoomEye and others just with a single command.
- Multiple API key input support: The tool allows users to input multiple API keys, which can help increase the efficiency of their work. This feature is particularly useful for users who need to use multiple API keys in their work or for those who want to switch between different API keys to access different services.
- stdin / stdout support for input: Uncover also supports input through standard input (stdin) and standard output (stdout). This means that the tool can receive input from the command line or from another program, and also output the results to the command line or to another program. This flexible input and output method allows for seamless integration with other tools and scripts, making it easier for users to automate their workflows.
- Easy to use CLI: Uncover has a simple and easy to use Command-Line Interface making it easy for users to learn and use the tool.
Installation of Uncover is as simple as other ProjectDiscovery tools. To install uncover, follow below steps:
- Make sure you have “Go” installed in your system. If not, follow this guide to install the same as per your Operating System: https://go.dev/doc/install
- Next, run the following command:
go install -v github.com/projectdiscovery/uncover/cmd/uncover@latest - The above command will successfully install uncover and to verify, run the following command:
uncover -h
Note: If you don’t have go set in path, you need to either set it in path or use ~/go/bin/uncover -h command to verify.
Uncover provider configuration
Since uncover supports multiple search engines like shodan, censys and others, it also provides a way to incorporate configuration of all search engines through a single file which is known as the provider configuration file in this case.
The various search engines offer paid and community version API Keys to query the data using CLI interface and since uncover uses the same APIs, it is essential to feed the API Keys for it to work efficiently and fetch results.
As per ProjectDiscovery documents, the default provider configuration file should be located at $HOME/.config/uncover/provider-config.yaml and has the following contents as an example.
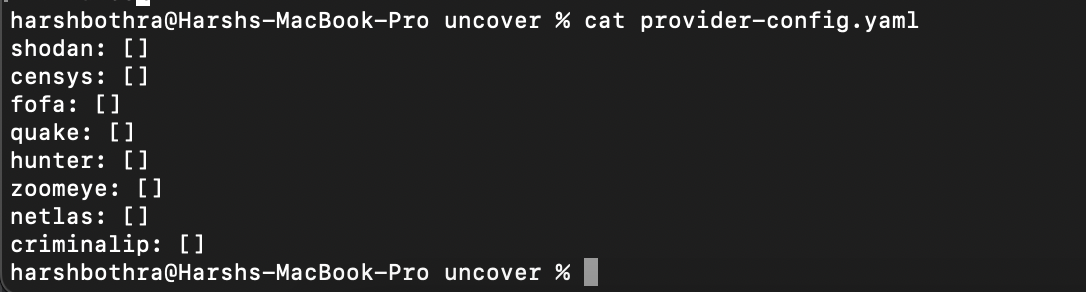
A common example of how to set API keys in the provider-config.yaml file looks like following:
shodan:
- SHODAN_API_KEY_1
- SHODAN_API_KEY_2
As an alternate method, you may also set up the Search Engine API Keys directly to your bash profile using following command:
export SHODAN_API_KEY=xxx
export CENSYS_API_ID=xxx
Note: It is required to set up the API Keys for the relevant search engines before running the uncover tool. Otherwise it will result in errors. Furthermore, the API keys are required to be generated and added by the user, as ProjectDiscovery does not provide these API Keys.
Now, since we have installed the tool and set up the provider configuration files, that are mainly our pre-flight checks, let’s discuss and understand how Uncover works in detail.
Note: For this blog, we will be using mostly the community edition (free) API Keys and the results may vary with the paid API Keys as they support more rich features.
Running the tool - Uncover in action
Basic Usage/Default Run
This is a default option to run the uncover tool and yields results from Shodan by default. While it has many other search engines supported, this is the default run.
To run the scan, use the following command: echo '"Dell"' | uncover
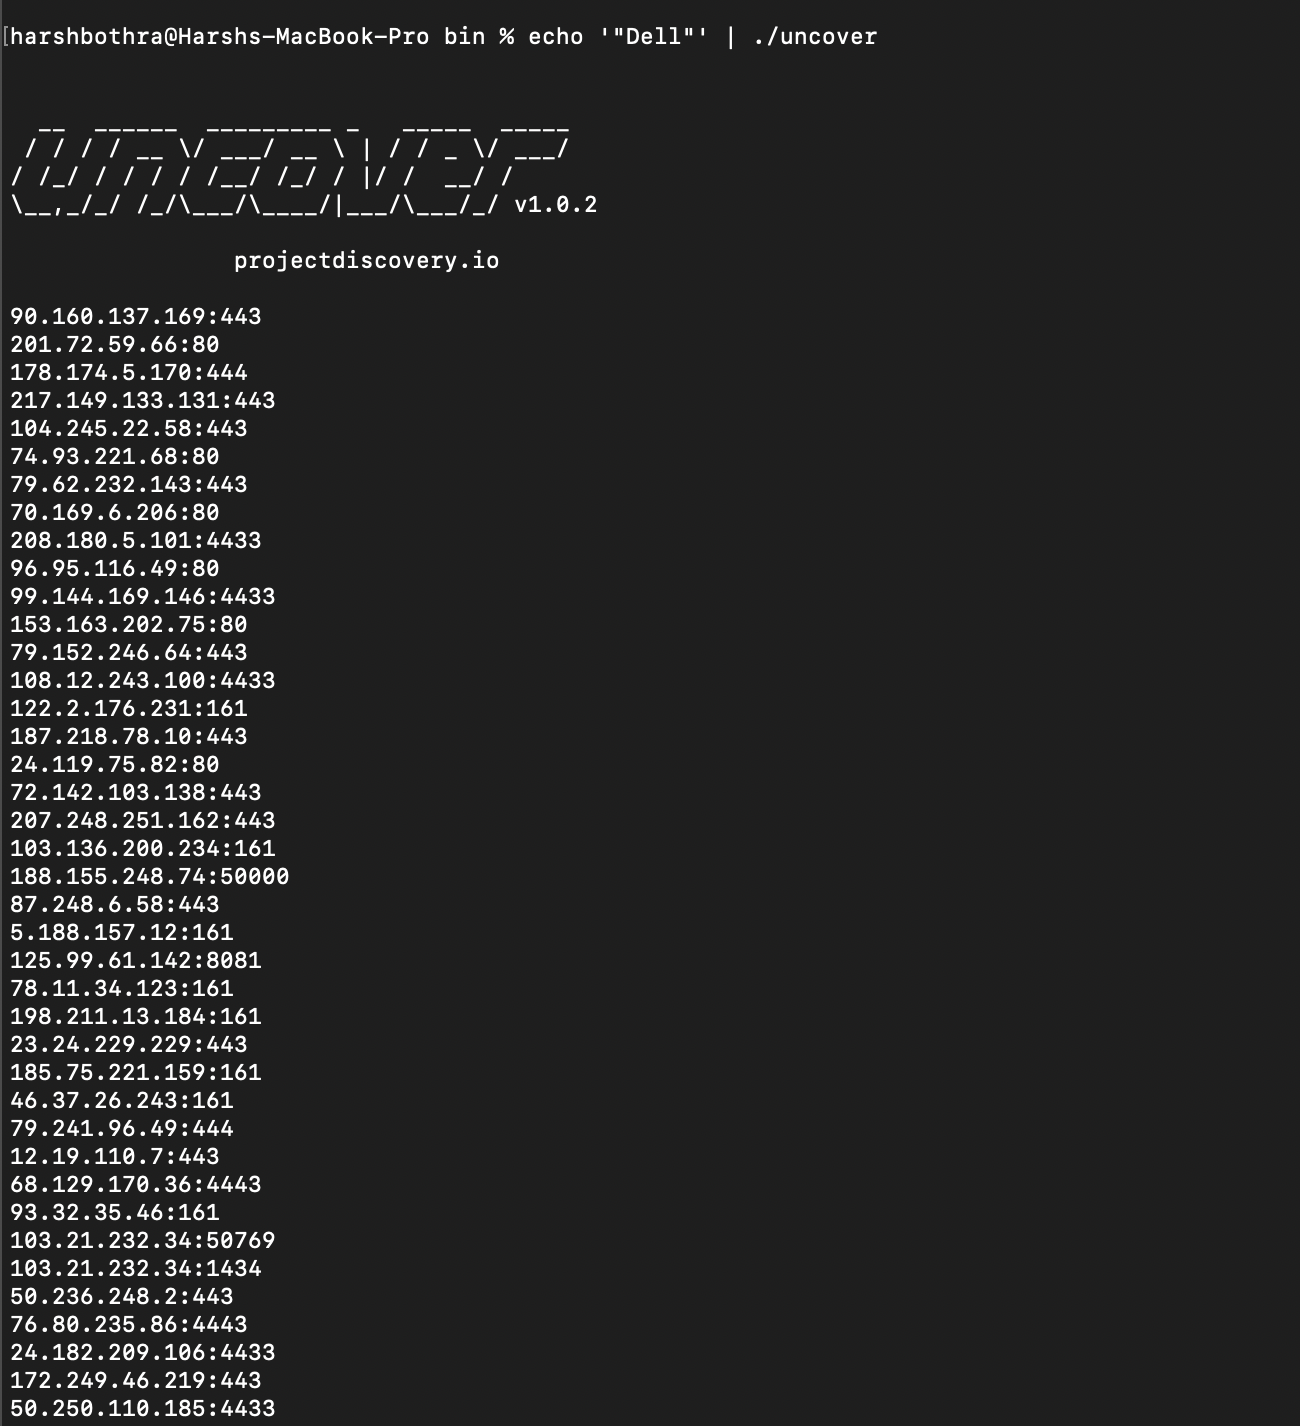
The above command queries for “Dell” keyword using the Shodan Free API and returns the output from matched data. However, this is not a clean output as Shodan Free API doesn’t support filters. Using filters, you can further fine-tune your queries and get better results.
Querying with a specific search engine
While uncover supports shodan as default search engine, it is also possible to manually define which search engine to use for querying with following flags:
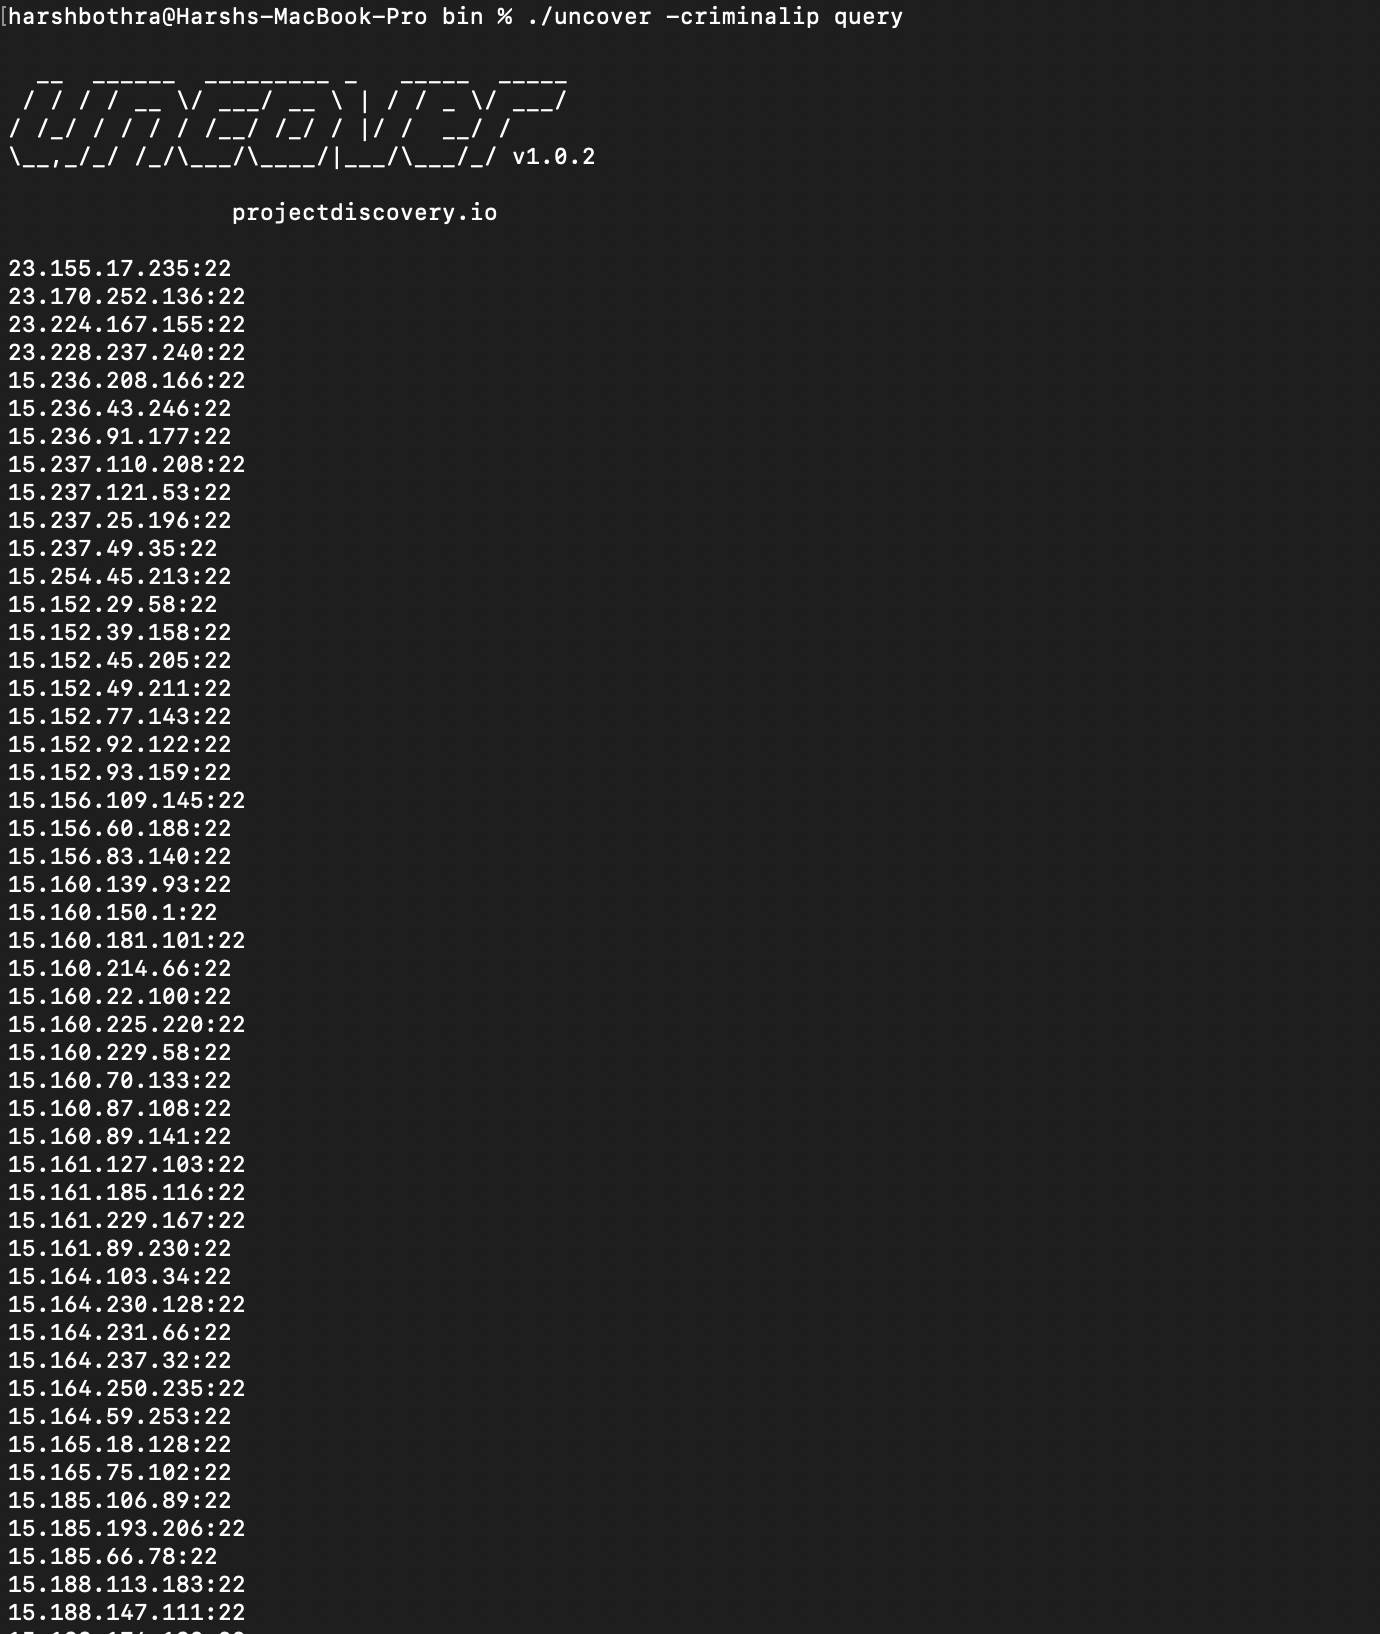
For example, to query using criminalip service, run the following command:

uncover -criminalip query
Uncover with multiple dorks
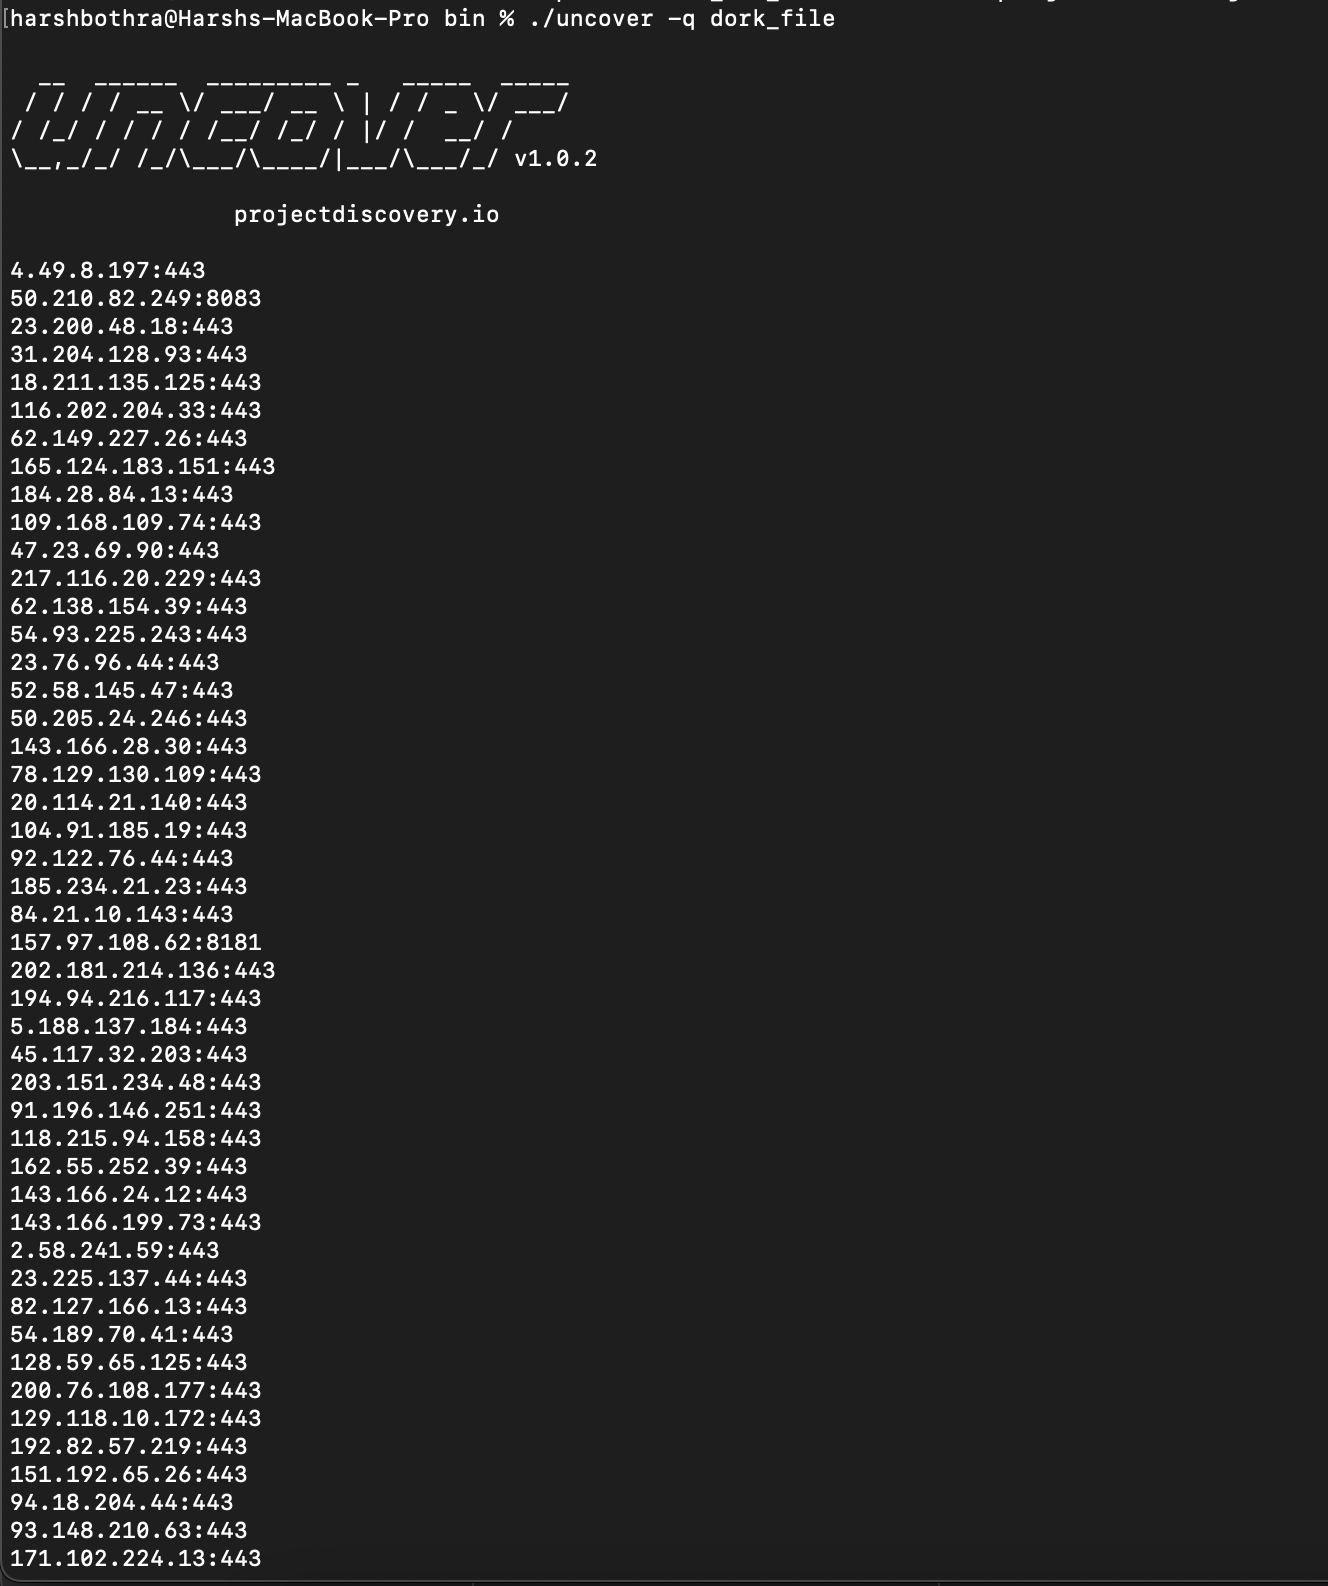
Similar to the above default run, it is possible to use multiple dorks allowing to perform multiple search queries through file type input.
To perform a multiple dork search query using uncover, run the following command:

uncover -q dork_file
Single Query run against multiple search engines
Since uncover supports multiple search engines, you can use -e flag to provide a comma separated list of search engines you want to use for performing the query scan.
Note: You need to have the API key set for the search engine you are targeting to use.
To perform a single query run against multiple search engines, run the following command: echo grafana | uncover -e shodan, criminalip
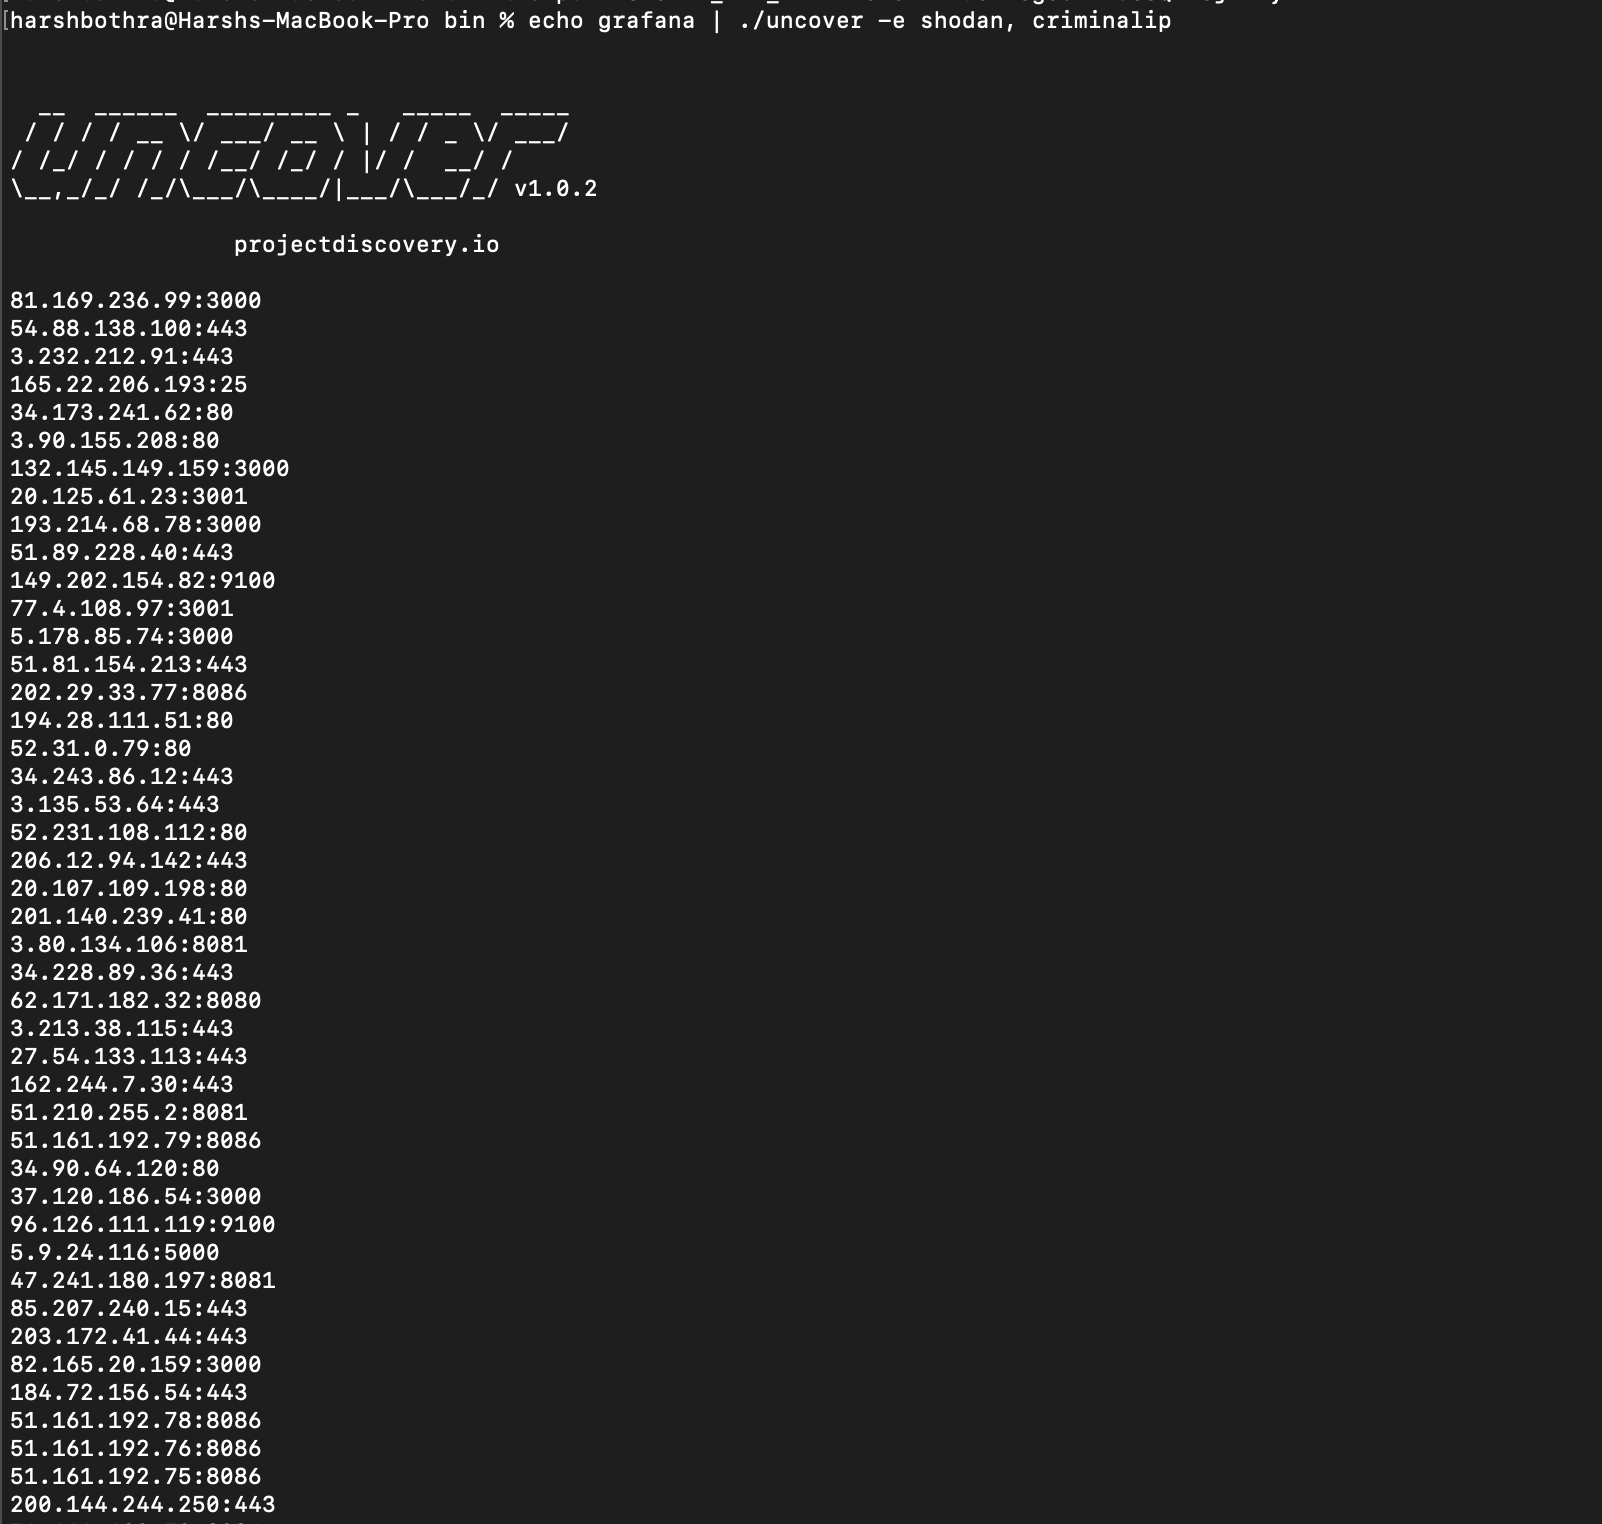
The above command will query for grafana instances using shodan and criminalip services.
Multiple Query run against multiple search engines
Similar to the above single query run, it is also possible to run multiple queries with multiple search engines just using following command:
uncover -shodan “grafana” -criminalip “grafana”

Shodan-InternetDB API with Uncover
As per internetdb.shodan.io, The InternetDB API provides a fast way to see the open ports for an IP address. It gives a quick, at-a-glance view of the type of device that is running behind an IP address to help you make decisions based on the open ports.
Uncover by default uses Shodan InternetDB API when an IP/CIDR input is provided. You can query the same using following command:
echo 8.8.8.8 | uncover -v

Output customization with “Field Formatting”
So far, we looked at various input methods and search options to query interesting data using multiple search engines. However, it is very essential to focus on output especially if you are planning to build an automation pipeline.
You would definitely like to have output in your desired format or a format that is suitable to your automation configuration. Fortunately, Uncover supports various output formats and allows you to customize the output using the “field formatting” feature.
As per the uncover documentation, -f, -field flag can be used to indicate which fields to return, currently, ip, port, and host are supported and can be used to return desired fields.
Let’s see how this works with help of a quick example:
With field formatting: uncover -q grafana -f host -silent

Without field formatting: uncover -q grafana

As you can see that by default, the tool returns in the IP:PORT format when querying while in field formatting we chose to retrieve hostnames instead of IP:PORT format as it could be more convenient as per your automation configuration or vice-versa. In a nutshell, the overall goal is to provide more flexibility on how you want to handle your output.
Uncover use cases in automation pipeline
Uncover is an interesting wrapper that uses various search engines to query data and it is especially helpful in recon to identify new hosts and services that could be in your assessment scope. The following are a few examples of how Uncover can be used in a recon automation pipeline:
- Information Gathering: Uncover can be used to automate the process of gathering information about a target, such as its IP addresses, domain names, subdomains, open ports, and more. The tool can run multiple search engine queries in parallel to collect this information quickly and efficiently.
- Vulnerability Scanning: Uncover can be used to automate the process of identifying potential vulnerabilities in a target. The tool can run searches for specific keywords related to vulnerabilities and parse the results to identify potential security issues using the search engines.
- Asset Inventory: Uncover can be used to automate the process of creating an inventory of all internet-connected assets belonging to an organization. The tool can run searches for specific keywords related to the assets and collect information about their IP addresses, domain names, open ports, and more.
- Threat Intelligence: Uncover can be used to automate the process of gathering threat intelligence about a target. The tool can run searches for specific keywords related to security threats and parse the results to identify potential security threats to the target.
These are just a few examples of how Uncover can be used in a recon automation pipeline. One can definitely create their own use cases and build something interesting. Let’s have a look at a very simple scan pipeline using uncover, httpx and nuclei.
Building a simple scan pipeline using Uncover, HTTPx and Nuclei
In this example, we will simply use uncover to query for a specific detail such as organization name and further send the results to HTTPx and lastly use nuclei to scan the identified hosts. You can build this simple pipeline as follows:
uncover -criminalip “ssl_subject_organization:dell” | httpx | nuclei

Summary
Uncover eases the process of querying data using internet search engines like Shodan, and it supports multiple search engines. To use it, simply plug in the API key of the supported service, and you can perform all the queries through your command-line. Uncover is written in Go, which makes it fast and efficient for building automation pipelines, such as recon automation.